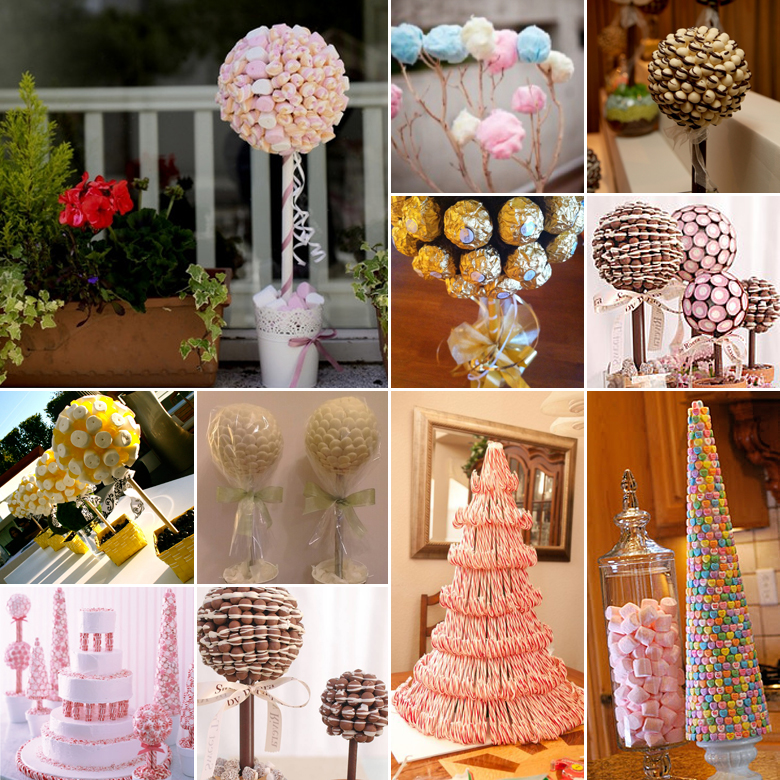
DIY Sweetie Tree { Edible Centre Piece }
This tasty tree is somewhat reminiscent of the witch’s house in the popular fairytale, Hansel and Gretel, and it’s guaranteed to impress guests of all ages. In fact, we can already envision the stack of Instagram pics and Facebook posts capturing your talk-of-the-town DIY masterpiece!
You’ll need:
- A foam ball – size of your choice
- A thick dowel stick (for the trunk)
- Plaster of Paris
- Water (250ml for every 500g plaster of Paris)
- A pretty planter pot
- Toffee or chocolate (for attaching candy to the tree)
- A selection of sweets of your choice
- Ribbon and accessories to decorate your tree
Now to get started:
- Make a hole in the foam ball and push the dowel stick into the foam, right up to the point where it’s 100% secure. Be careful not to poke it right through!
- Combine 500g plaster of Paris with 250ml water, adding the water little bit by little bit until it forms a smooth paste. Feel free to multiply the quantities to suit the volume of your planter pot.
- Pour the plaster into the planter pot and plant the other end of your dowel stick in the plaster. Hold it in place for a couple of minutes until the plaster begins to set and the tree can stand up by itself. Then, set aside overnight until dried completely.
- Take your ribbon, wrap it around the tree trunk and apply a blob of glue to each end to keep it in place. Alternatively you can paint the dowel stick, though be sure to use a non-toxic paint.
- Now to start decorating your tree! First, melt a chunk of chocolate or toffee in a double boiler pot or in the microwave on a very low temperature. You’ll only want to melt a little bit of the sweet stuff at a time, or else it will harden in the bowl while you’re decorating.
- Use a pastry brush to spread a medium to thick layer of the chocolate or toffee onto a small area of the tree, and start sticking your candy to the tree. If necessary, hold the sweets in place until the sticky stuff dries.
- Once you’re happy that the candy isn’t going anywhere, proceed to the next section – repeating steps 5 and 6 until the entire tree is covered in candy.
- Finish off your masterpiece with your additional embellishments and decorations – for instance, a vintage brooch, ribbon, paper flowers, pears, you name it!
Original image and credits available on Pinterest


