Wedding Calligraphy
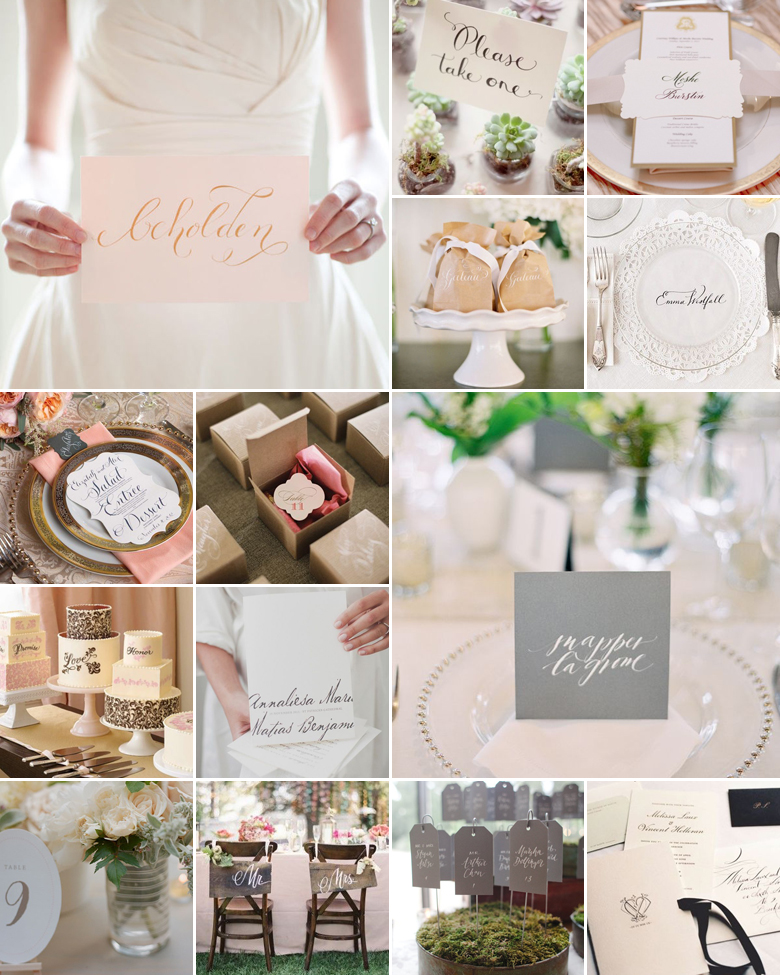
You can't write “whimsical princess wedding” without writing it in calligraphy! Whether it’s heavily embossed gold lettering on quality old fashioned paper or a swish of black on white – this stunning and timeless art form is guaranteed to add a dash of fantasy and elegance to any occasion.
While calligraphy takes time to master, with enough patience you can ultimately learn enough so that you can attempt to do your wedding calligraphy yourself.
Here are 10 tips for getting it right – or shall we say, write:
- If you don’t have naturally good handwriting and control over your hand, you might have to accept that calligraphy isn’t for you.
- Don’t rush it – accept that it’s going to take quite a bit of time, so be sure to plan for it.
- Go easy on yourself – you won’t get it right the first time, so have a little patience and allow yourself to mess up a couple of times.
- Practice, practice, practice!
- Set aside time on a weekend, when you’re at your most relaxed, to work on your calligraphy.
- Do your research! Before heading out to buy a calligraphy kit, read up online and chat to someone in the know about the type of ink, paper and pens you’ll need.
- Be sure to clean the nib of the pen on a regular basis as it tends to get clogged. This will ensure that your writing remains neat and consistent.
- Remember to allow enough time for each piece to dry, and don’t stack the pages on top of one another until you’re 100% sure it won’t smudge.
- Calligraphy is messier than what one might think, so wear clothes that you don’t really care for.
- Buy extra paper to allow for do-overs.
Original images and their credits available on Pinterest


